Tuesday, April 5, 2011

Spring Update!

Wow! I just realized I haven't updated this blog since September of last year! My deepest apologies to anyone who actually takes the time out of their day to look at this blog, and has been expecting a new post since then. Truly, I apologize.

Well, now that we have the obligatory apology out of the way, let me just say that I'm excited about the arrival of spring! Spring brings a wide range of things that make my job as a photographer easier. Chief among those perks is the increase in overall temperature. Seriously, it makes a significant difference. Nobody enjoys standing around the cold huddled behind a tripod for hours on end while taking winter shots, and I certainly doubt that anyone enjoys standing in front of my camera while the thermometer reads 2 degrees celsius or lower. Plus, it means that summer is on the way!

If all goes according to plan, this summer I'll be working with another photographer doing a few more weddings, gaining some more experience and doing some serious networking and promoting. Needless to say, I'm quite simply, well, pumped at the idea of getting to do some more wedding work.

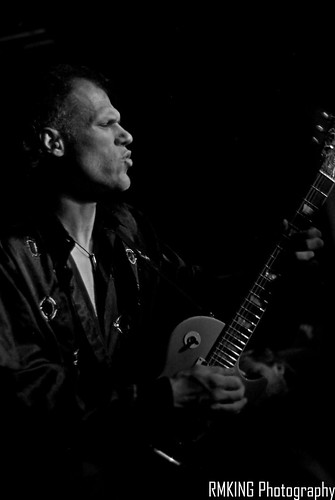
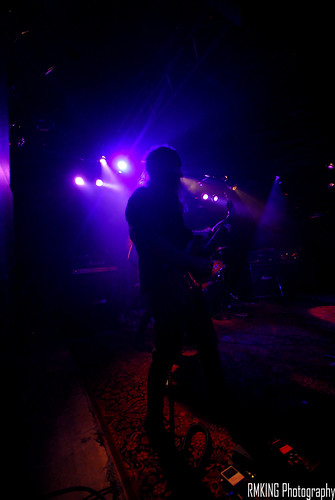
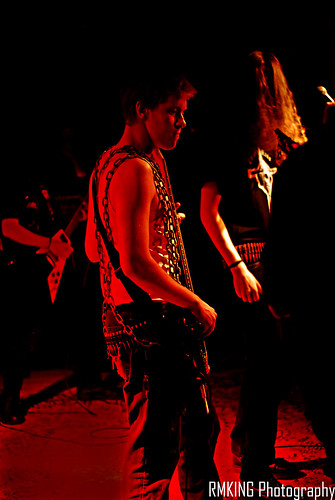
Speaking of work, what have I been doing for the past seven months you may ask? No, you didn't ask? Well that's alright, because I'm going to tell you anyway. The website has been updated and galleries have been moved around. New photos have been added too. I've been shooting more fine art work, and doing a few concerts here and there as well. Here's a few sample shots from a show I shot back in February:


The band in those shots is a local Vancouver metal band named Ancient Obliteration. I highly recommend them to any fans of metal music, especially fans of weird, avant-garde stuff that defies genrefication. No, that's not a real word, but I'm using it anyway. Here's a link to the full gallery of high-res images.

I've also been taking the time to work through some of my older images and rework them now that I have more editing skill, and better tools for editing. Here's a recent edit of an old favourite of mine:
For those of you interested in comparison and contrast, here's a link to the original too.

And with that I'll leave you for now, hopefully for less time that seven months.

- RMK

Wednesday, September 8, 2010

News (and a few photos)

It's hard to believe summer is gone already. Seriously, where did it go? The last time I looked at my calender, it was mid-July.

I've got some news (Facebook followers know all this already):

I have a new website, which can be found over at www.rmkingphotography.com

There's full galleries up there, covering the full spectrum of my photographic work. Weddings, engagements, concerts, band shoots, fashion, and fine art. There's prints available of everything, ranging in size from small to absurdly big - available in everything from glossy to matte to metallic to canvas.

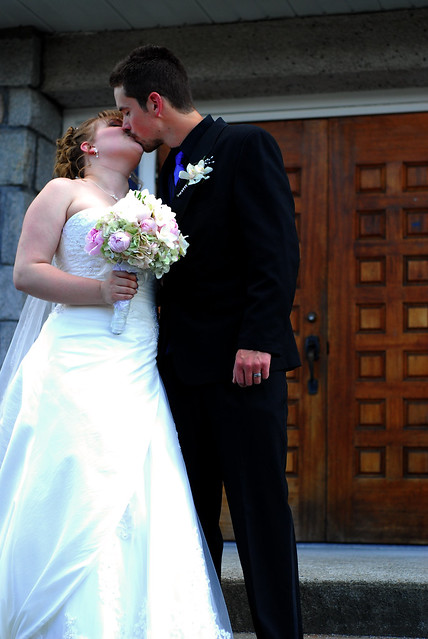
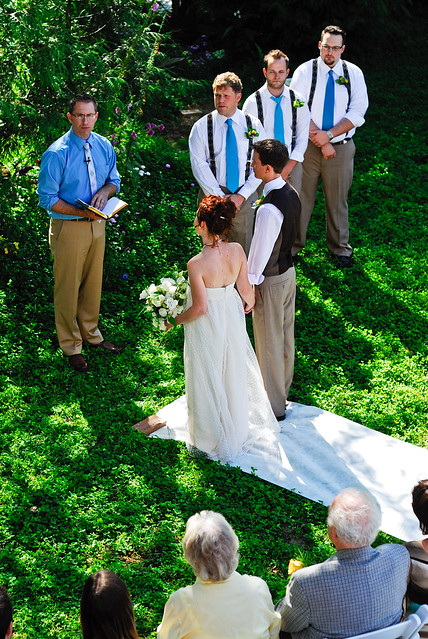
I've been working too. Here's a few shots from David and Jennifer Shipley's wedding back in June:
(I was the best man, so there's no photos of the ceremony in my work, it's surprisingly hard to pull double-duty at a wedding)
Click for full size view

The full gallery is available on my website at:  http://www.rmkingphotography.com/Weddings/DavidJennifer


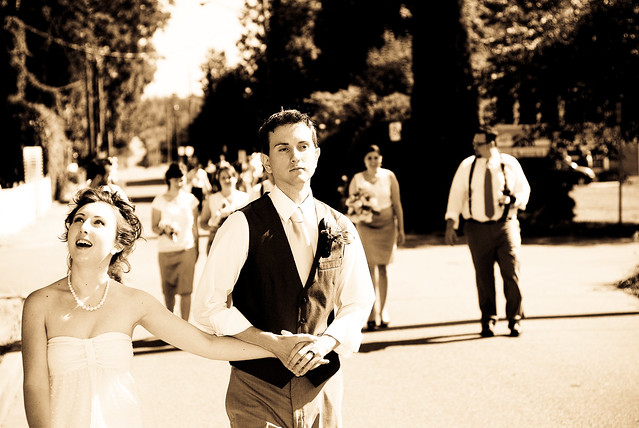
Here's a few shots from Katie and Corey Hnatiak's wedding in July:

Click for full size view

Click for full size view

Click for full size view


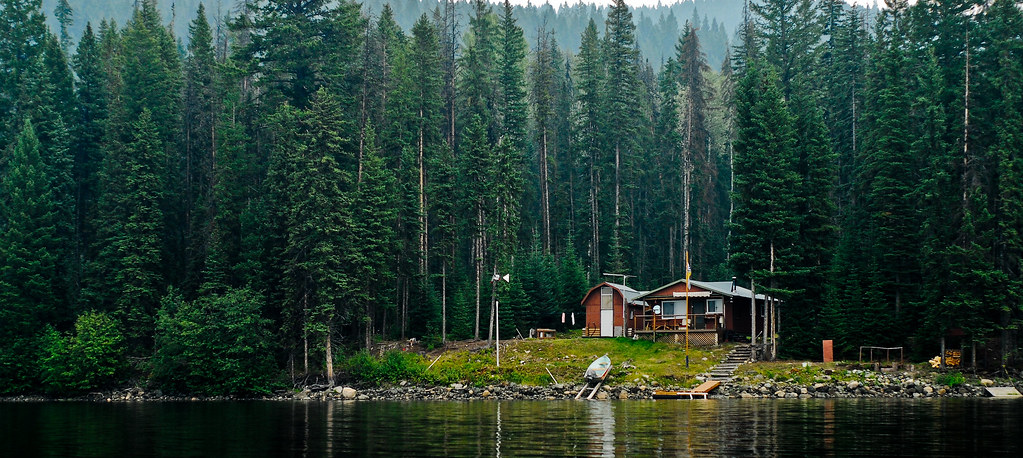
I could regale you all with tales of my summer exploits, but I'll save that for another post, another day. And with that, I'll leave you with a final photograph, my favourite from my summer vacation, simply entitled Solitude:
Click for full size view


Wednesday, June 2, 2010

Update

It's been a while since I updated this blog, and you have my sincere apologies. May was a busy month, both in terms of shooting and simply living - there were concerts to attend, and bachelor parties to survive.So now we find ourselves in June, deeply anticipating the coming summer. Although if the current weather is any indication, summer feels like it's ages away yet.

But you're not here to listen to me lament my lack of free time, so here's some new photos from a show I shot last weekend at The Red Room in Vancouver. The Lord Weird Slough Feg was in town, and local boys Funeral Circle opened up the night for them.

Funeral Circle unleashed a pounding, tortured set, featuring a new line-up, and some classic Doom Metal with a cover of an old Witchfinder General tune. Here's a link to the full set of Funeral Circle photos over on Flickr: http://www.flickr.com/photos/rmking/sets/72157624050161311/


The Lord Weird Slough Feg followed, pumping out the classics from albums such as Traveller, Down Among The Deadmen and Ape Uprising for their 20th anniversary tour. Mike Scalzi's vocals soared, drums were pounded, and guitar leads and solo's were thrown out so haphazardly that the only analogy I can use to describe the situation is that it felt a bit like watching a parade go past, with tantalizing sticky sweet bits of candy being hurled at your face in rapid fire. Only rather than having said candy stick to you, it instead melted your face, because with solos being in such abundance, well, faces were bound to be melted.

As you can clearly see in that last photograph, faces were, indeed, melted. Here's the links to the full set of Slough Feg images over on Flickr: http://www.flickr.com/photos/rmking/sets/72157624189749508/

And with that, I leave you until next time, which I promise won't be nearly so long as my last absence.

Tuesday, April 6, 2010

Hard Rock & Heavy Metal

I had the good fortune of being able to attend not one, but two - that's right, multiple - concerts last week.

First was another Divided Symmetry show. In my humble opinion, their best one yet. The sound was great, and the music was fantastic. The venue, ehhh, it was alright. The Princeton Pub isn't exactly a shining beacon of pubby goodness, let's just say that. The lighting was atrocious, and I only managed to get a handful of usable photos out of their whole set. So here's a select few of those far too few good photos:


The second show I went was a little different than the hard rock/progressive sound of Divided Symmetry. I went to see Begrime Exemious and Death Toll Rising - two death metal bands hailing from the frozen wastelands of Edmonton. Both bands put on a great show. The stage was too small, forcing them to play on the floor, with the mosh pit becoming a living, breathing organism, feeding off the energy poured forth by the bands, becoming ever more intense. This growing intensity fed back into the bands, spurring them on like some sort self-fueling machine of metal fury. Needless to say, I got knocked around a bit, feared for my camera gear for a bit, but it was a ton of fun, and resulted in some great photos.

Begrime Exemious:

Death Toll Rising:

The rest of the photographs can be found over at my Flickr page:
http://www.flickr.com/photos/rmking/

Tuesday, March 30, 2010

Exposure Blending Tutorial

Hey everyone,

This week's post is a quick tutorial on how to do exposure blending.

This technique allows a photographer - or photo editor - to give a photograph more dynamic range than it would have had if it were a single exposure. Dynamic range refers to the range of colours (or light) that a photograph is able to capture at one time, or in a single photograph. Since cameras have a much smaller dynamic range than the human eye does, photographers often have to rely on techniques like this in order to fully capture the range of colours/light that were present at the time the photograph was taken.

This technique most often involves the use of bracketed exposures - or images that were taken at faster/slower shutter speeds while maintaining the same aperture size. The slower speed image often better exposes the low/midtones of the image, while the faster speed image better exposes the highlights.

However, bracketed exposures require the use of a tripod, and if you don't have one handy or are unable to set one up you can simulate bracketed exposures by shooting in RAW, then processing the image later. Or if you don't mind a loss in quality, you can use a JPEG too.

But enough with the technical babble that nobody cares about, here's a quick and dirty little tutorial on how do exposure blending, using only a single image file.

Here's a link to the base image that you can use to follow along:
http://farm3.static.flickr.com/2791/4480529336_428fb73ec3_o.jpg

Make sure to click on each Step Photo in order to view the whole thing, Blogspot cuts off image size at a certain point.

Step 1:
I'm going to assume that you've already opened Photoshop and loaded your image, and if you haven't, you probably should.

So here's our base image.

Step 2:
Go up the Layers menu, and duplicate the layer. It should look like this:

Got it? Good.

Step 3:
Now that you've duplicated the layer, you can start tweaking it so you that you can blend it into the base image. Make sure that you've selected the new layer. Go up the Image menu,then select the Adjustments sub-menu, and click on Levels. You should end up with a window that looks like this:


Step 4:
Now start adjusting the levels. I like to start by adjusting the slider on the far right, then the middle slider. You're looking to darken your new layer. Like this:


Step 5:
Okay, now that you've darkened your new layer, it's time to start blending it. Open the Layers menu again, and find the Layer Mask sub-menu and then click on Reveal All.


Step 6:
You should see a small white box next your duplicate layer in the layers window. Select that box - that's your Layer Mask. Once you've selected it, click on the Gradient Tool in your tool bar, and adjust the opacity to a lower level than 100%.


Step 7:
With your gradient tool selected, find the horizon in your image, and drag the gradient down from there. You can press the Shift key on your keyboard to make the line straight.


Step 8:
You'll notice that your foreground just got lighter, as the layer mask and gradient leaves the darker duplicate layer on top, but reveals the lighter base image beneath where the gradient was applied.

That's it! You've successfully blended two layers into one image!

So let's quickly recap. Here's what we started with:
Base Image


And here's the final result:
Crescent Dock